Siding protects a home or building from moisture, wind, and other damage and enhances its appearance. It is available in a variety of styles and materials, allowing homeowners to achieve the look they desire. Contact Hawkins Siding And Exteriors now!
For example, LP SmartSide siding has the classic look of wood but is more durable and can help resist termite damage. It’s treated with zinc borate and resins that give it core strength and helps it resist moisture, rot and insects.
When choosing the right siding for your home, it’s important to consider the cost of the material and how much labor will be needed to install it. There are many different factors that affect the price of siding, including the size and shape of your home, installation time, and type of siding you choose. Many homeowners find it helpful to calculate the number of square feet of siding they need before starting a project, which will help them budget their costs and avoid overspending.
The first step in calculating the amount of siding you will need is to measure the four walls of your house or structure. Using a pencil, paper and measuring tape, take measurements of the height and width of each wall that will be sided. Then, add up all of these measurements to find the total square footage of the house or structure. You should also take measurements of any soffit areas. For gable areas, use the area formula for triangles: base x height x width divided by two. This will help you determine how much soffit area you need and how much trim strip to order.
There are many types of siding on the market, from vinyl to wood, and each has its own advantages and disadvantages. For example, vinyl siding is a durable material that resists damage and is easy to maintain. It’s also available in a wide variety of colors to match your home’s architecture, and it’s easy to install by a professional. However, some types of vinyl can be damaged by sunlight or heat, and it’s not fire-resistant.
Another popular option is wood siding, which is natural and attractive, but requires more maintenance than other materials. Wood is prone to rot and insect damage, and will need a new coat of paint every three to five years. In addition, wood must be treated with a weather-resistant sealant to protect against humidity and water.
Another option is fiber cement siding, which is made of Portland cement and various natural cellulose wood fibers. This siding can be cut and shaped to look like wood and is a popular choice among homeowners. It is also available in a range of color options and can be painted to match any style or color. It’s also eco-friendly and lasts longer than other types of siding.
Durability
Modern sidings are designed to withstand harsh weather conditions, which protects homes from moisture infiltration and insect damage. They also help to prevent structural decay. They are available in a variety of materials, including vinyl and wood-look products. Some are even termite-proof and fire-resistant. However, these sidings can be more expensive than other types of home exteriors. Fortunately, there are ways to cut the costs of these types of sidings.
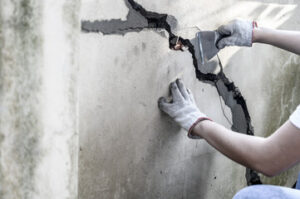
Siding should be maintained and repaired as needed. Detecting minor issues early on will prevent deterioration and save money in the long run. If you notice any cracks or holes, it’s best to repair them immediately, as these will eventually become worse. This will prevent moisture infiltration, mold growth, and pests from entering the house.
Aside from regular cleaning, you should also protect your siding from damage by avoiding the use of chemical cleaners. These chemicals can damage the material, fading its color and decreasing its water-repelling properties. Avoid undiluted bleach, liquid grease remover, and abrasive scrubbers.
Choosing the right type of siding is important for determining its durability. Different materials have varying lifespans, ranging from 30 to 100 years. Siding with a longer lifespan will cost more, but it may be worth the investment in the long run as you won’t have to replace it as often.
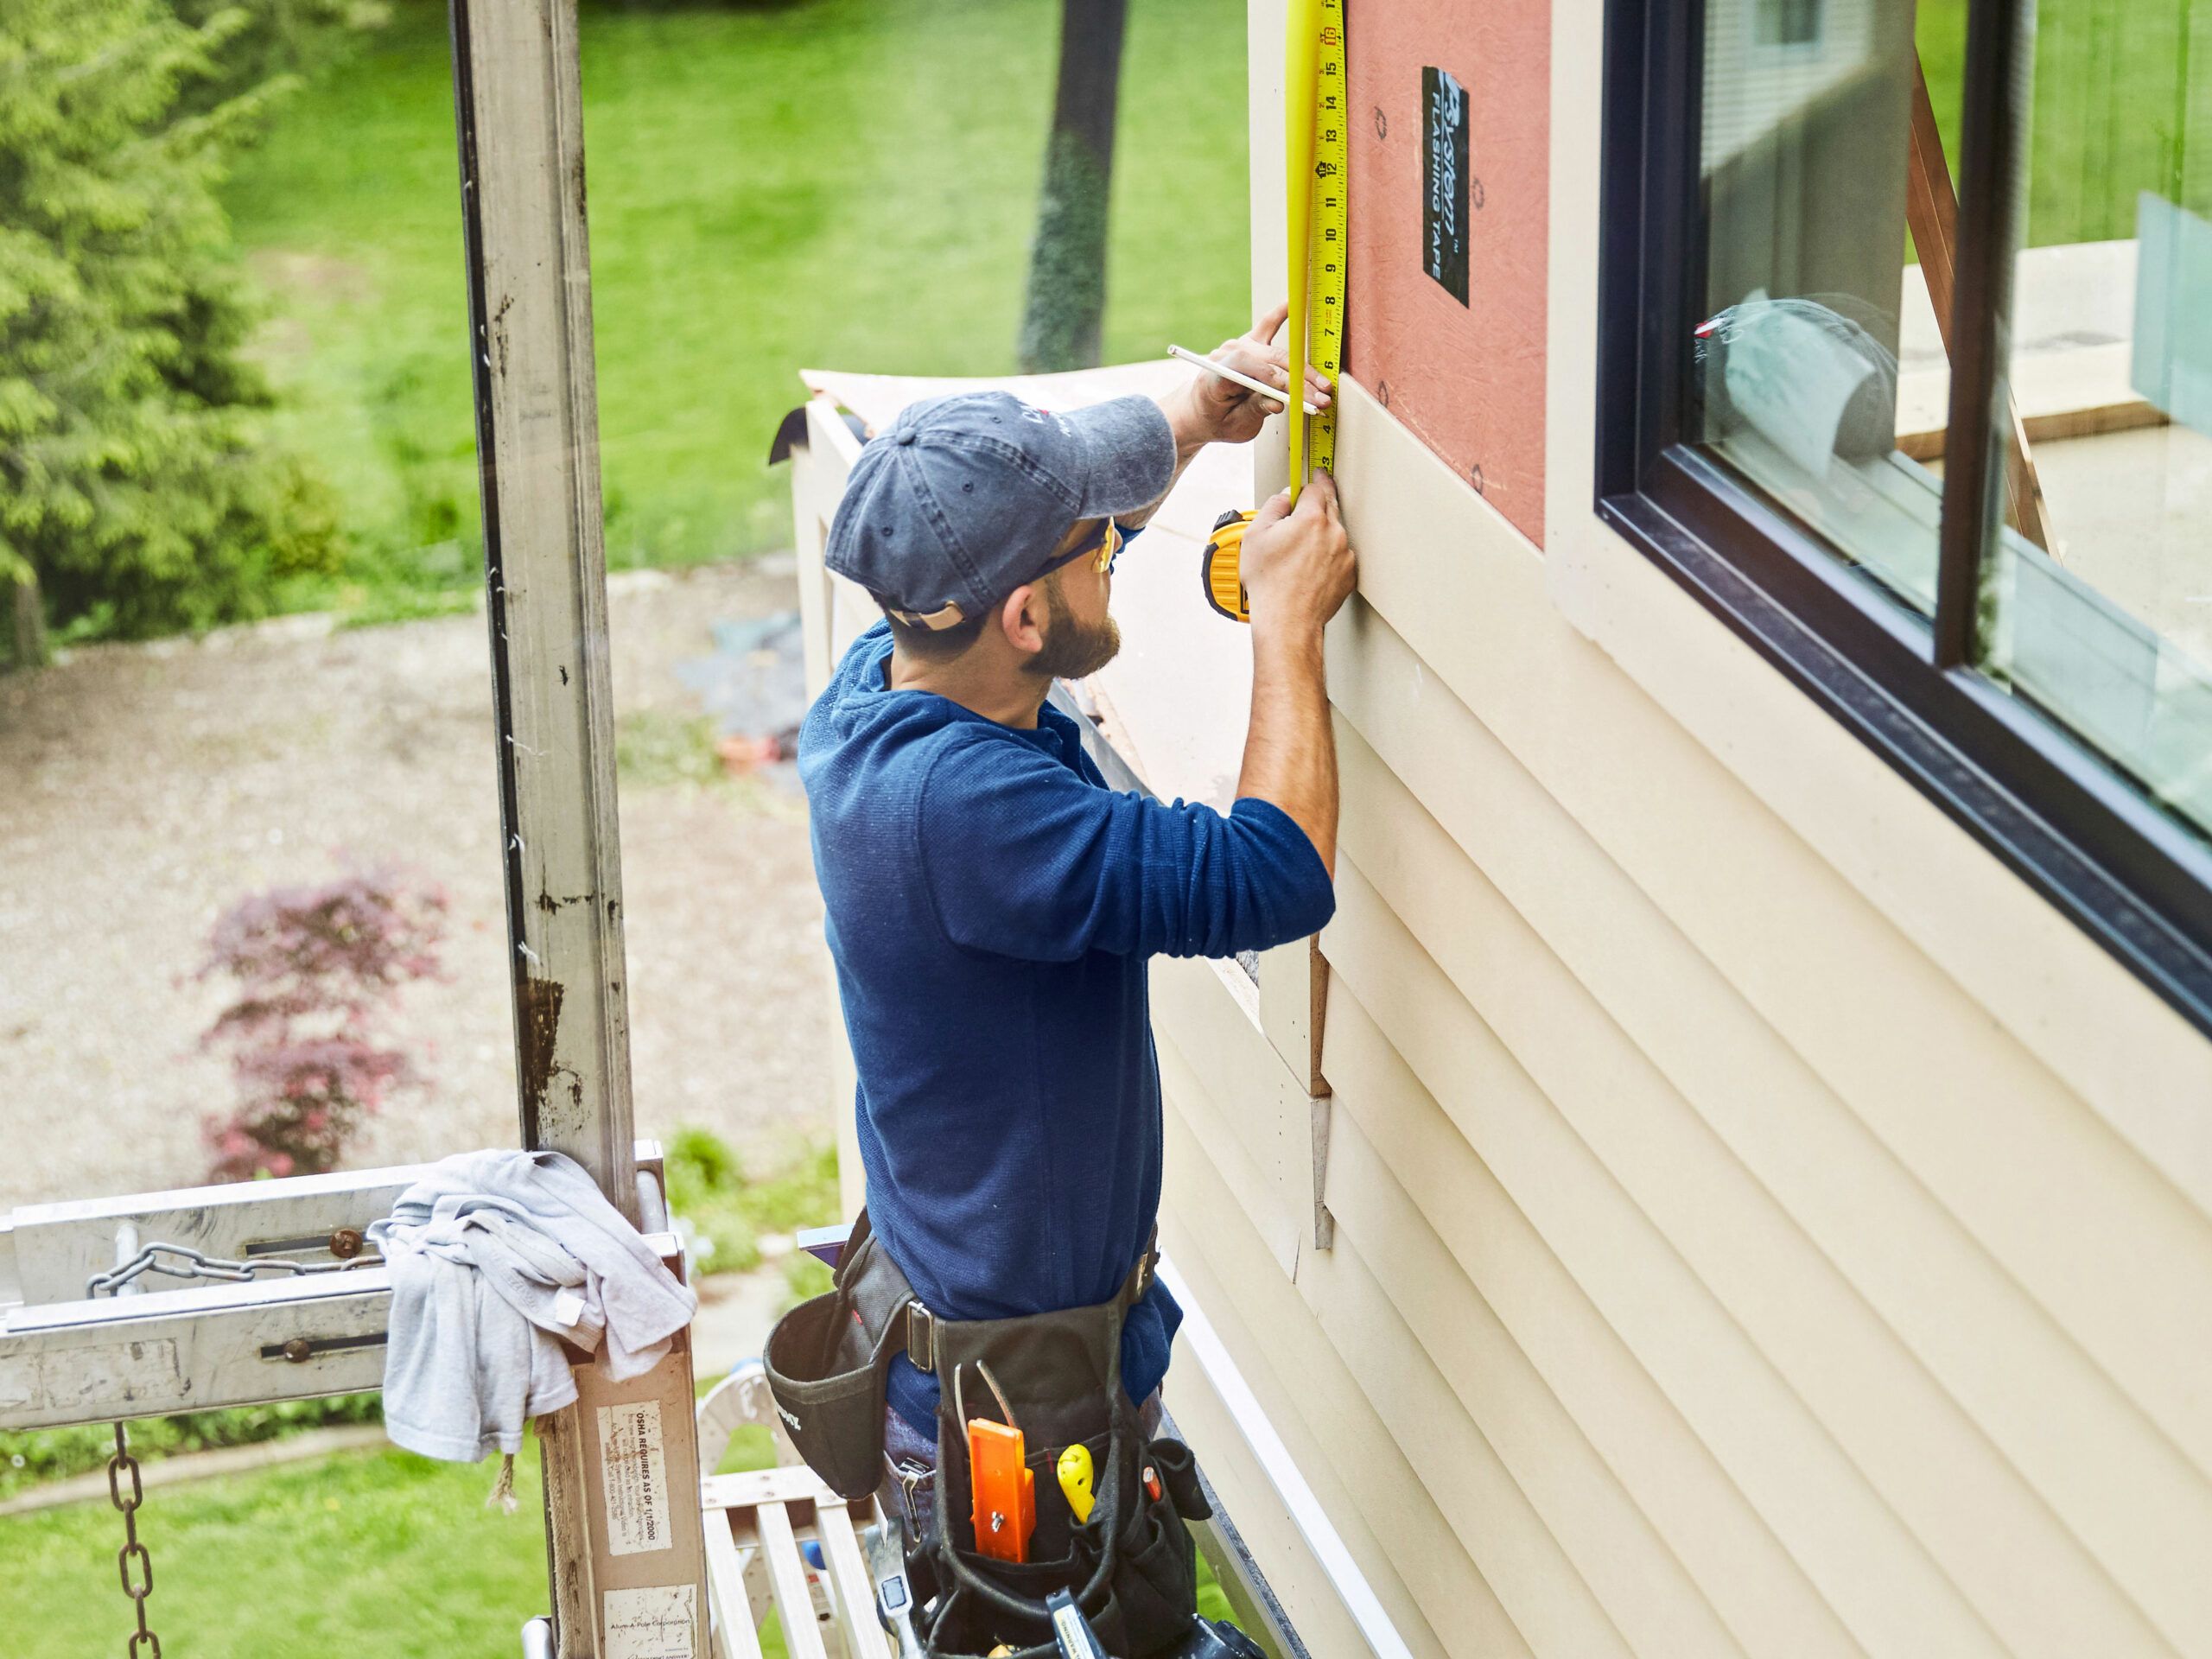
In order to determine how much siding you need, you must first measure the square footage of your home’s exterior. It’s best to do this twice, once clockwise and once counterclockwise. This will help to reduce mistakes and make it easier to compare the results. Moreover, it’s important to add a margin of 5 to 10% to your calculations. Otherwise, you risk ordering too little or too much material.
It’s also important to take into account the area of your home’s gables and dormers when calculating how much siding you need. This will require a trip down memory lane to geometry class: area is determined by multiplying the base and height of each section. For example, if you have a gable that’s triangular in shape, it can be easily calculated by multiplying its width and height by two and adding them together.
Maintenance
The maintenance needed for siding varies depending on the type of siding and its geographic location. For example, vinyl can last up to 40 years but will need to be cleaned regularly to remove dirt buildup and protect against ultraviolet rays. It is also important to repair any damaged sections of siding as soon as possible. Postponing repairs can lead to further damage and higher repair costs.
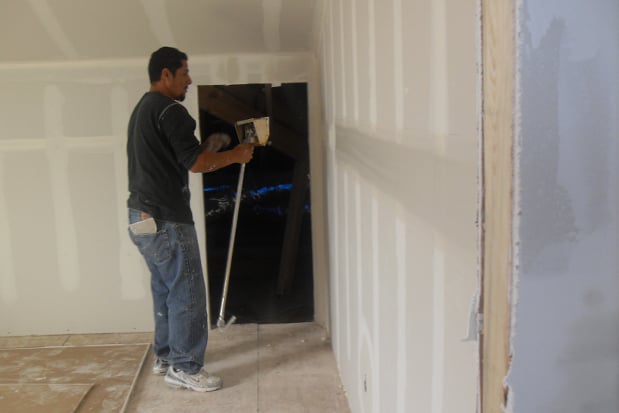
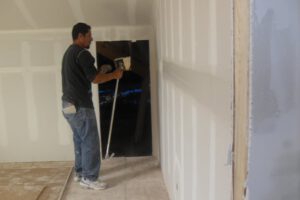
To ensure that your siding is protected from the elements, it is a good idea to develop a long-term maintenance plan. This plan should include routine cleanings, inspections and any necessary repairs. In addition, it is a good idea to hire a professional to address any significant issues or damage. By doing so, you can avoid major problems in the future and extend the life of your siding.
Wood siding is a popular choice for many homeowners and can enhance the visual appeal of a house. It is more expensive than vinyl, but it is durable and can last from 25 to 55 years. It is also a natural option for many homeowners who prefer to have a home that is environmentally friendly. However, it requires periodic maintenance to protect it from moisture intrusion and pest infestation.
Moisture penetration causes rot, mold and mildew, which can cause substantial structural damage to a house. If you notice any signs of moisture intrusion in your home’s exterior, call a professional immediately.
Another way to prevent moisture intrusion is to install gutters and downspouts to direct water away from your siding. You should also trim any nearby trees or shrubs that are touching your siding. This will prevent debris from rubbing against the siding and causing damage.
If your siding is stained, a combination of water and vinegar should work well to remove it. For tough stains, use a mixture of water and bleach. You can also use an antifungal cleaner for more serious issues.
For steel siding, it is a good idea to inspect the structure for scratches and dents on a regular basis. If you notice any damage, it is a good idea to repair it promptly to prevent rust. You can use nonabrasive stainless steel scratch remover to remove small scratches before they turn into rust spots. If you have already started to see rust spots, you can apply a rust-inhibitive primer to the area.
Appearance
Choosing the right color and style for your home’s siding will make a huge difference in its appearance. While the popularity of neutral-colored siding continues to grow, homeowners are also experimenting with different styles and materials. For example, shiplap is a unique installation method that results in an interesting architectural look. Other trends include using more than one type of cladding and blending several widths together.
In addition to the main walls of your house, you’ll need trim pieces to finish windows and doors and protect areas like the underside of eaves. To determine the amount of trim needed:
- Start by measuring the height and width of all rectangular walls on your exterior.
- Don’t deduct windows and doors from these measurements; this will give you some leeway in your calculations.
- Measure other parts of your home’s exterior, such as gables.
Add in the cost of any trim pieces you need, such as J-channel and starter strips.